4 Things to Know Before Riso Printing
4 min read
Looking to learn a new creative print technique? Here are 4 things to know before using a riso printer.
Starting with the basics…
What is a Risograph?
Imagine a cross between a screen printer and a photocopier– you have a risograph.
The size and speed of a photocopier, risographs work similarly to a screen printer to achieve a textured and colourful print.
As a fast, low-cost printing method, the risograph was designed for organisations looking to print lots of copies quickly and cheaply. This includes schools, offices, and political parties. Today, it’s loved by graphic designers for its unique layers of colour creating striking images.
Using soy-based ink with a toothpaste-like consistency, the risograph prints one layer of colour at a time. You can build up colours to create more intricate designs.
How Riso Printing Works
- Send your design to the riso printer. Scan it directly using the scanner bed above the printer, or send it over electronically. Insert your ink cylinder into the risograph, this is called the drum.
- Once the risograph receives your design, it burns tiny holes to transfer it onto a thin stencil, known as the master. The master wraps around the drum.
- Carry out a test print to check everything is set up correctly. Insert the paper on the left side of the risograph and allow a few sheets to go through before the ink starts flowing properly, so you can see how your design looks. Once you’re happy with it, you’re ready to start your final print.
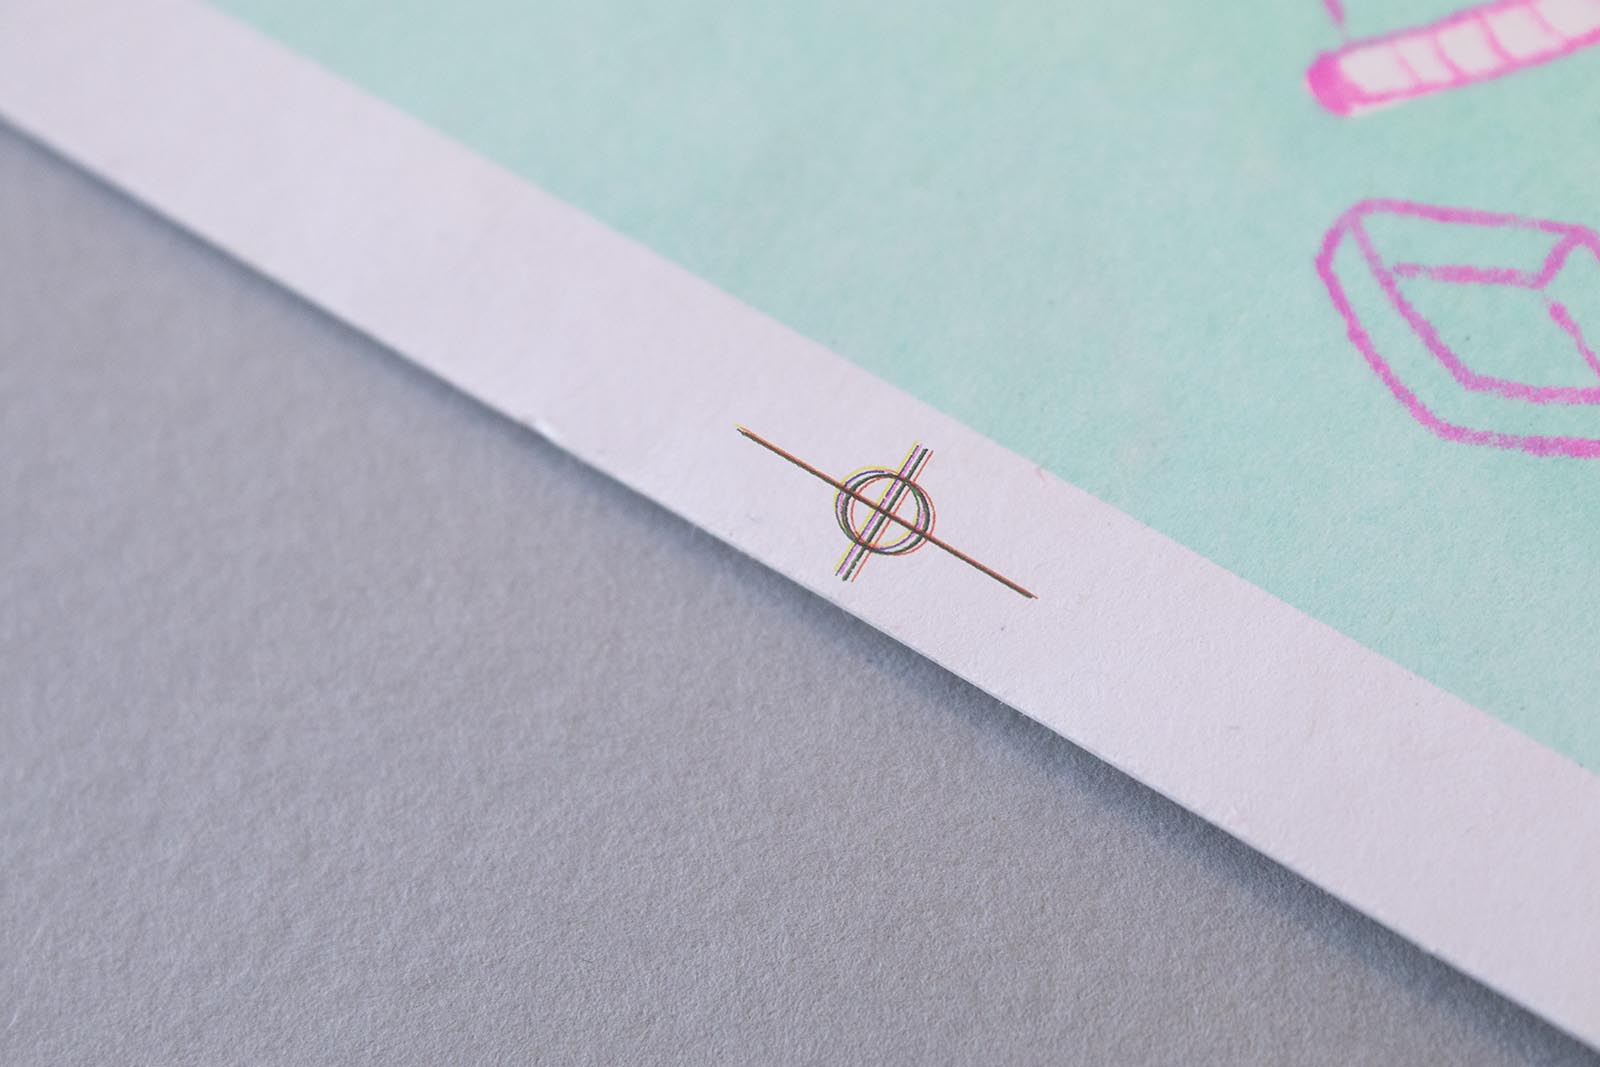
- To add different colours, change the drum to your chosen shade and update the master to reflect the design of your next colour layer. Before printing, check your layers are aligned by using small marks to indicate the edge of the design. If the marks line up on the different colour layers, you know you’re printing in the right place. This process is called registering. You may want to test on a blank sheet of paper to check the colour placement before printing straight onto your design.
- Repeat these steps until you’ve finished printing all your layers.
It sounds simple enough, but there is room for error when new to the creative printing world. To become a printing specialist, learn how to avoid these common mistakes.
Common Riso Printing Mistakes
Smudging
The toxin-free soy-based ink sits on paper for a while (like a newspaper), making it slow to dry and prone to smudging. Leave your finished print to dry overnight before touching it.
Pro tip: If you accidentally smudge the colour, use a rubber to erase the error.
Printing on the wrong paper
Unlike laser printing, Riso printing doesn’t work well on coated glossy papers. It works better on paper with a rougher texture, weighted between 80 and 250 gsm.
Pro tip: If you’re using lots of ink, choose thicker paper. The denser the paper, the more ink it can absorb, reducing the chances of smudging.
Tracking
When using lots of ink in one layer, the roller picks up the excess throughout the printing process. As the ink takes a long time to dry, the roller sometimes drags the remnants of colour across your print, leaving colour in unwanted areas. We call this tracking.
If your design is ink-heavy, tracking can be inevitable. It helps to keep a thick margin between your work and the edge of the page, so you can trim off the areas impacted by tracking and your design remains unchanged.
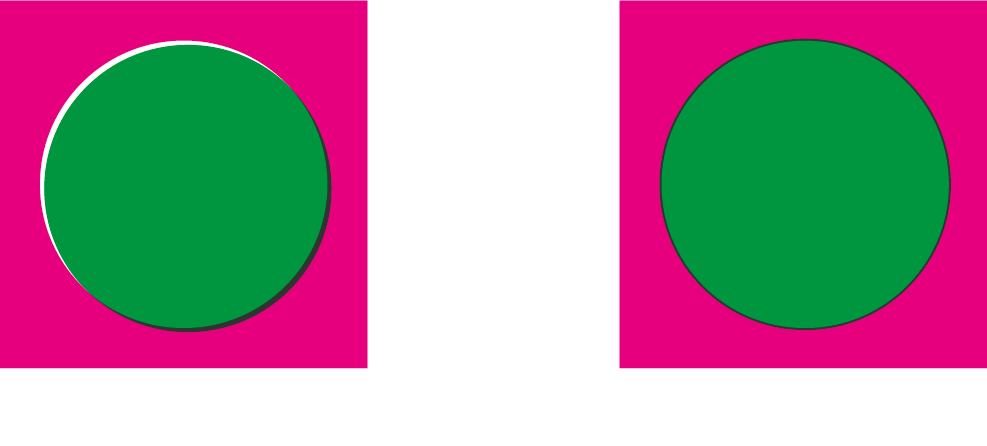
Colours printed in the wrong place
It is hard to align separate colour layers without unwanted overlap. Some print specialists like to use a technique known as ‘trapping’ to create a buffer zone that increases the chances of the colour ending up in the right place. Trapping uses a thick black border around the design to help mask error by reducing the surface area for the colour to fill and hide accidental overlap.
Overloading the page with ink
Using a lot of colour in one layer of your design may cause excess ink to seep through the master. An ink leak can cause the paper to get stuck, jamming the printer. To maintain the colour block effect without too much ink, reduce the opacity in the risograph to 70% or 80% to avoid over-saturating the paper.
With common mistakes covered, let’s turn to a positive note– why do people love this creative printing technique?
Why Choose Riso Printing?
There are lots of creative printing processes, but the risograph is loved for many reasons. Here are a few of our favourites:
A Sustainable Printing Method
Sustainability is important to us at Jump Design and Print, and Riso printing is a certified sustainable printing method which instantly puts it in our good books.
It’s not only the soy-based ink that makes it more ethical than printing with ink containing toxins, the printing process runs cold which uses far less energy and resources than other printing methods.
Fun fact: Did you know a medium photocopier uses 10,000 litres of alcohol and 100,000 litres of water every year? Riso printing requires far less electricity and doesn’t use nearly as much water or alcohol, making it a low-impact way to bring your art to life.
Riso printing is also low waste. The drums can be reused, so the master is the only thing thrown away after you’ve finished printing.
Affordable Way to Print
Not only are risographs a sustainable printing option, but they are also very cheap. Due to the aforementioned low electricity intake, riso printers don’t cost a lot to run.
Experiment with different printing methods
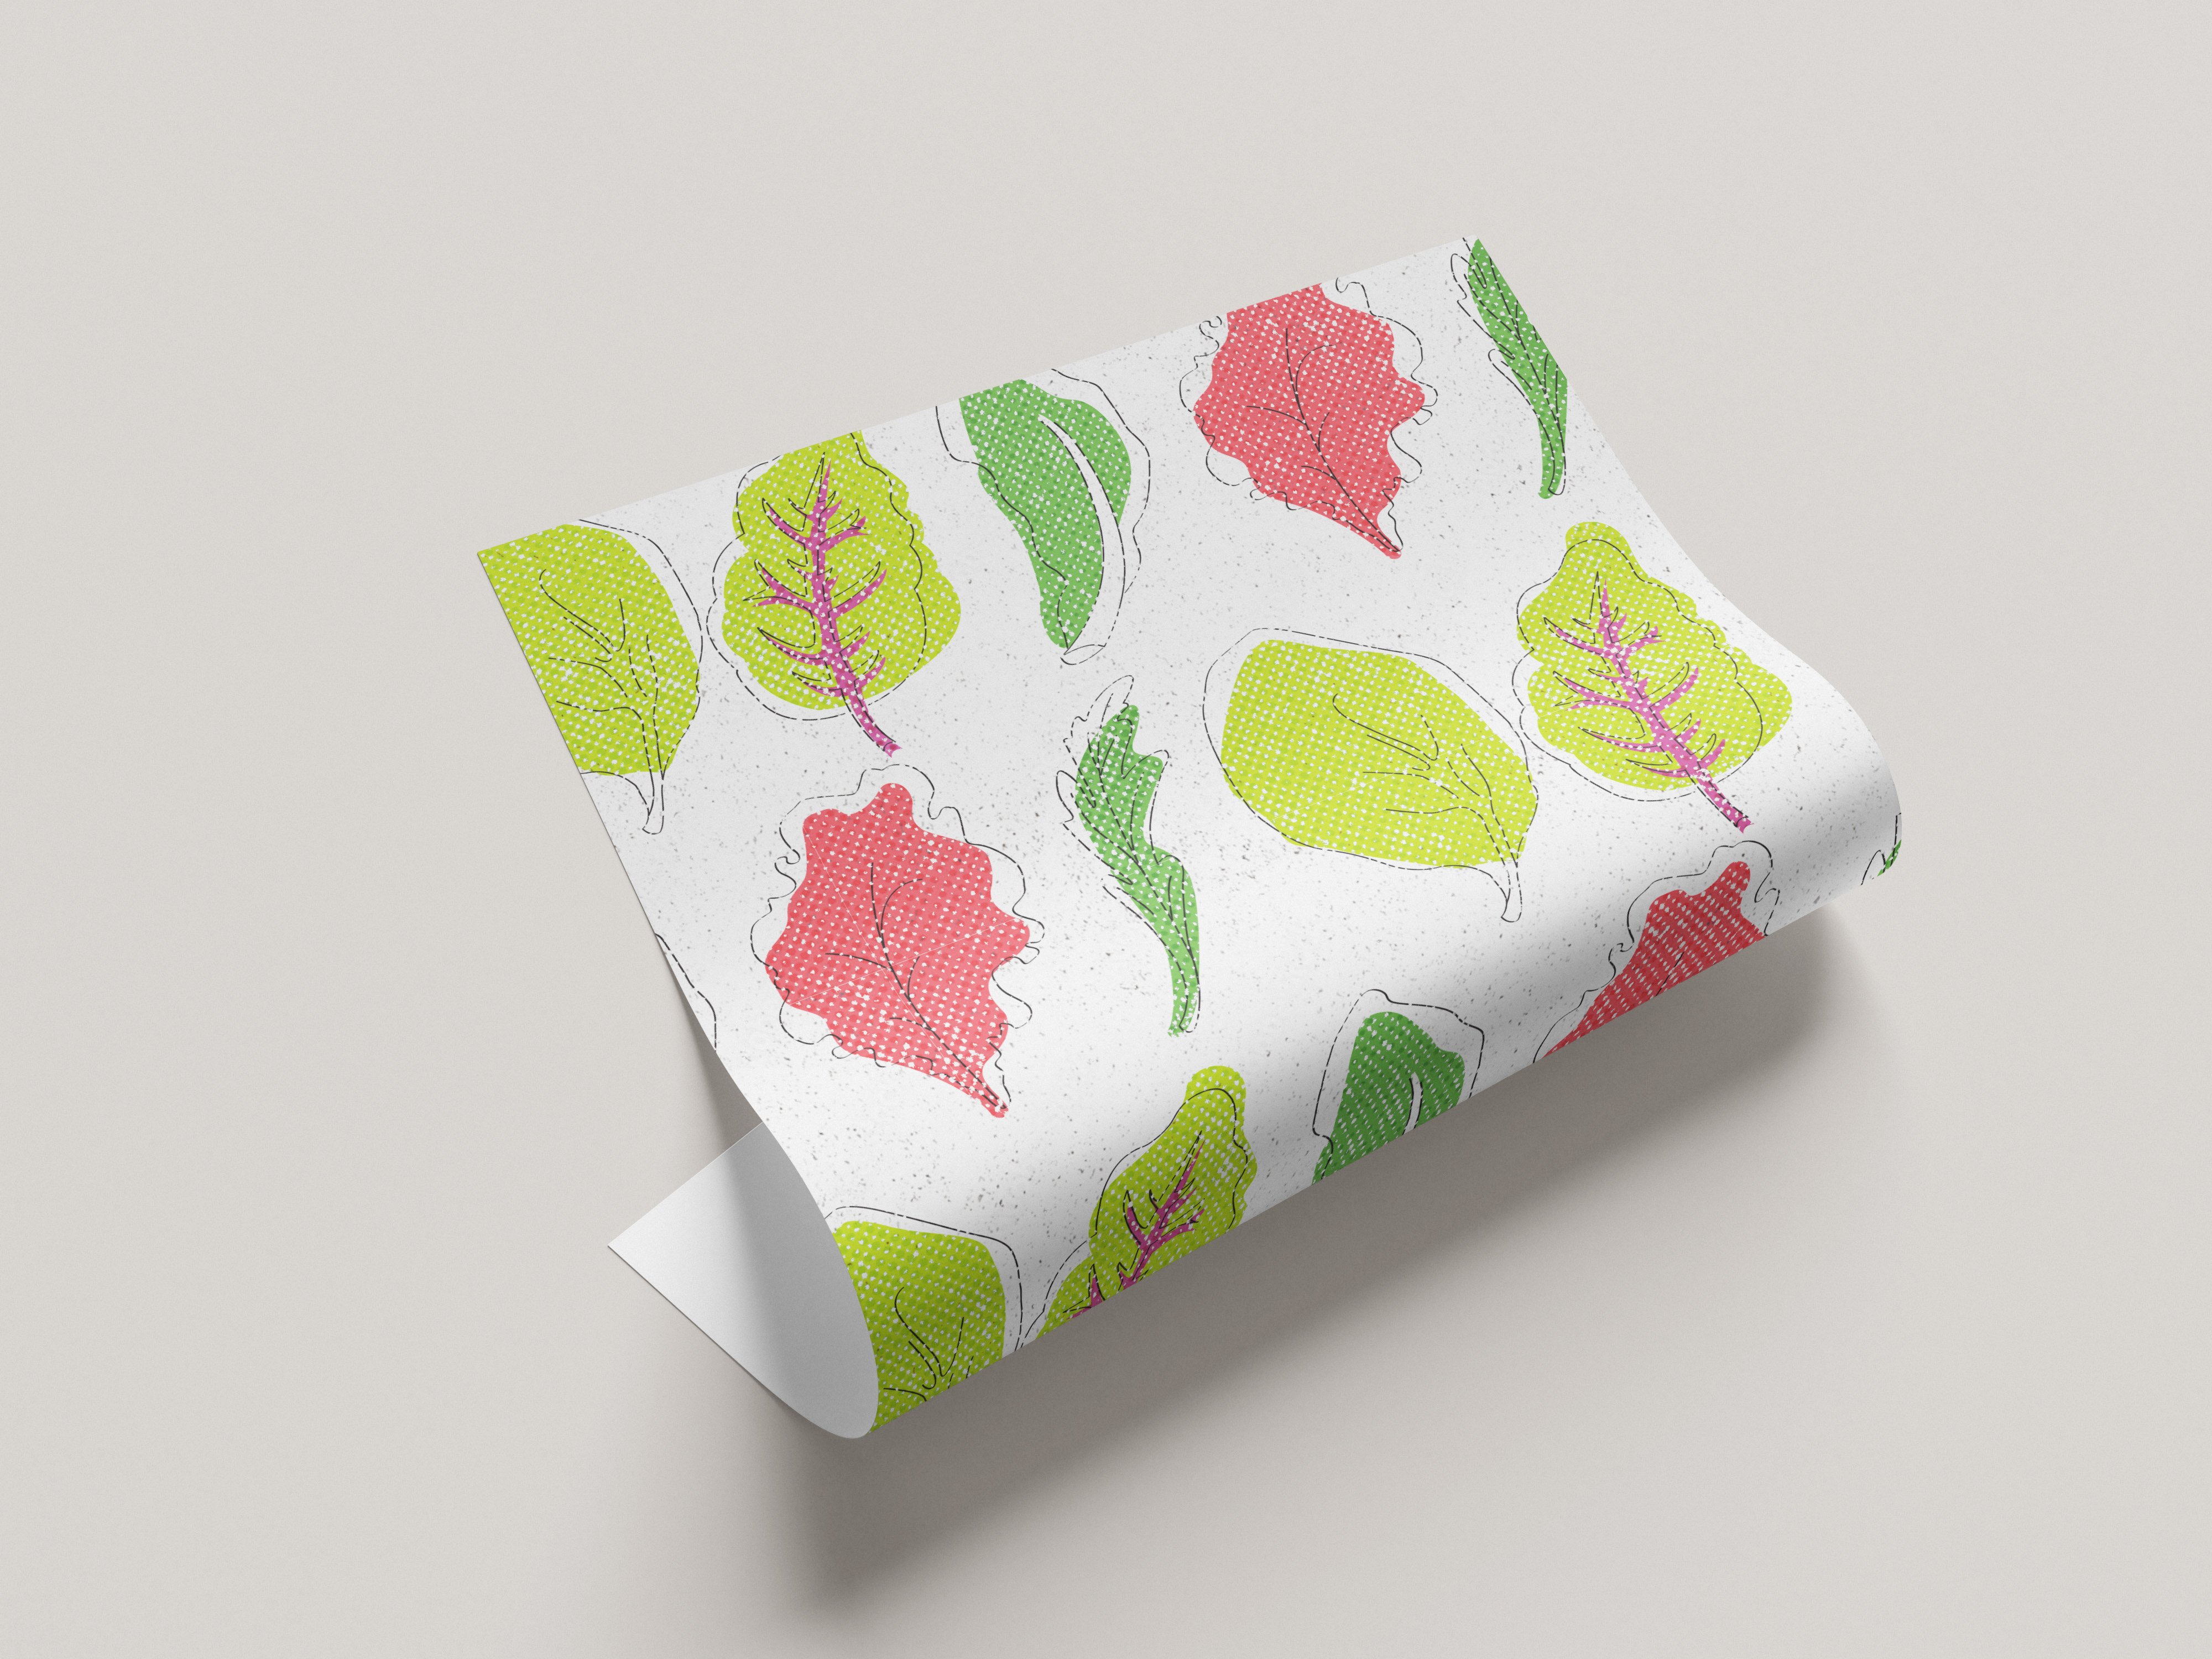
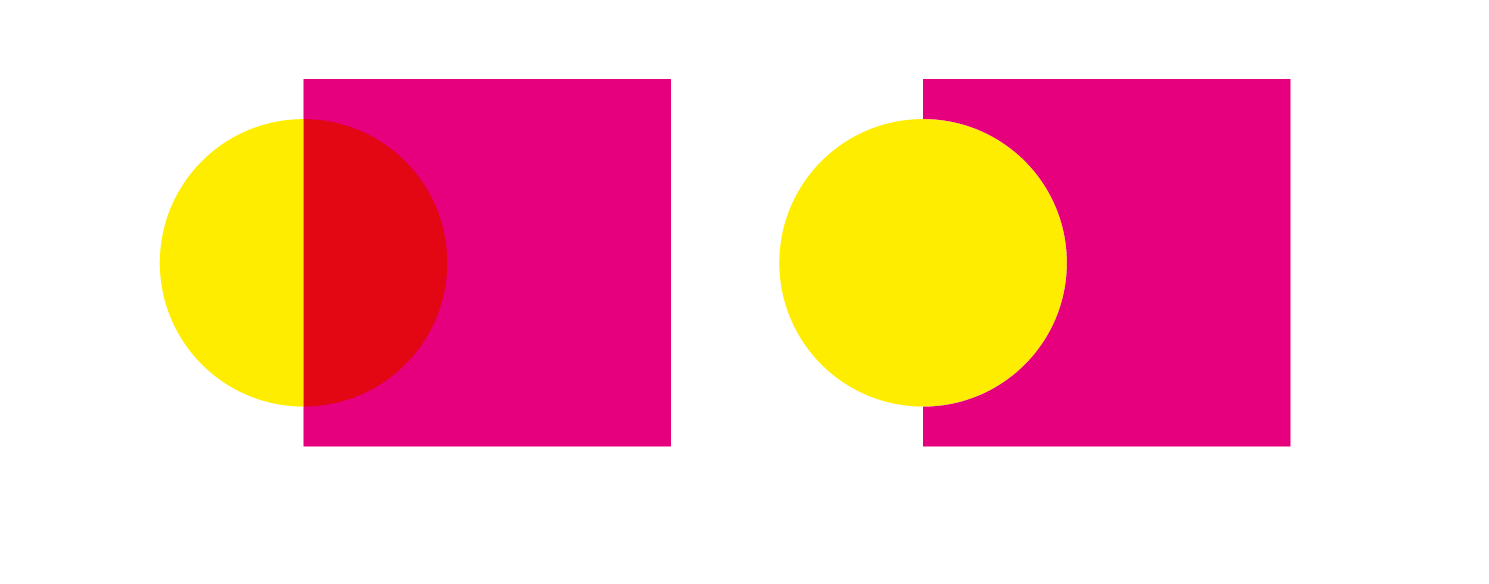
You can’t recreate the shades and texture of riso ink electronically, giving you unique results every time you print. There are multiple ways to print with riso that yield different outcomes each time.
Riso inks are low opacity, which allows experimentation known as ‘overprinting’, the act of layering colours to create new shades. You can also increase the opacity of different inks to layer block colours. This technique is called ‘knock out’.
With all that information under your belt, you’re ready to start riso printing! Save this article to refer back to throughout your printing journey if you need a helping hand.
Glossary
Drum The cylinder that contains your Riso ink.
Knock out Printing thick layers of block colour that don’t show the colour underneath.
Master The thin, disposable stencil that your design is burned onto. It wraps around the drum.
Overprinting The process of layering colours to explore new shades in your design.
Registration The alignment of overlapping colour layers so they are in the right place on the page.
Tracking When excess ink builds up on the rubber roller, it can drag remnants of colour across your design. This is known as tracking.
Trapping Adding an area for overlap between colour layers in your design, to avoid unwanted white space or colours ending up in the wrong place. This is often done with a thick black border.


